
Groups can be used to organize users who follow different rules, workflows, or approval structures. For example, some groups of employees may require access to specific categories or cost centers, or have different submit/approval flows.
By using groups, you can manage these differences efficiently and consistently across your environment.
Creating a New Group
-
Go to Configuration → Users.
-
Click More → Groups.
-
Click Add to create a new group.
Give the group a clear and descriptive name so it’s easy to recognize later.

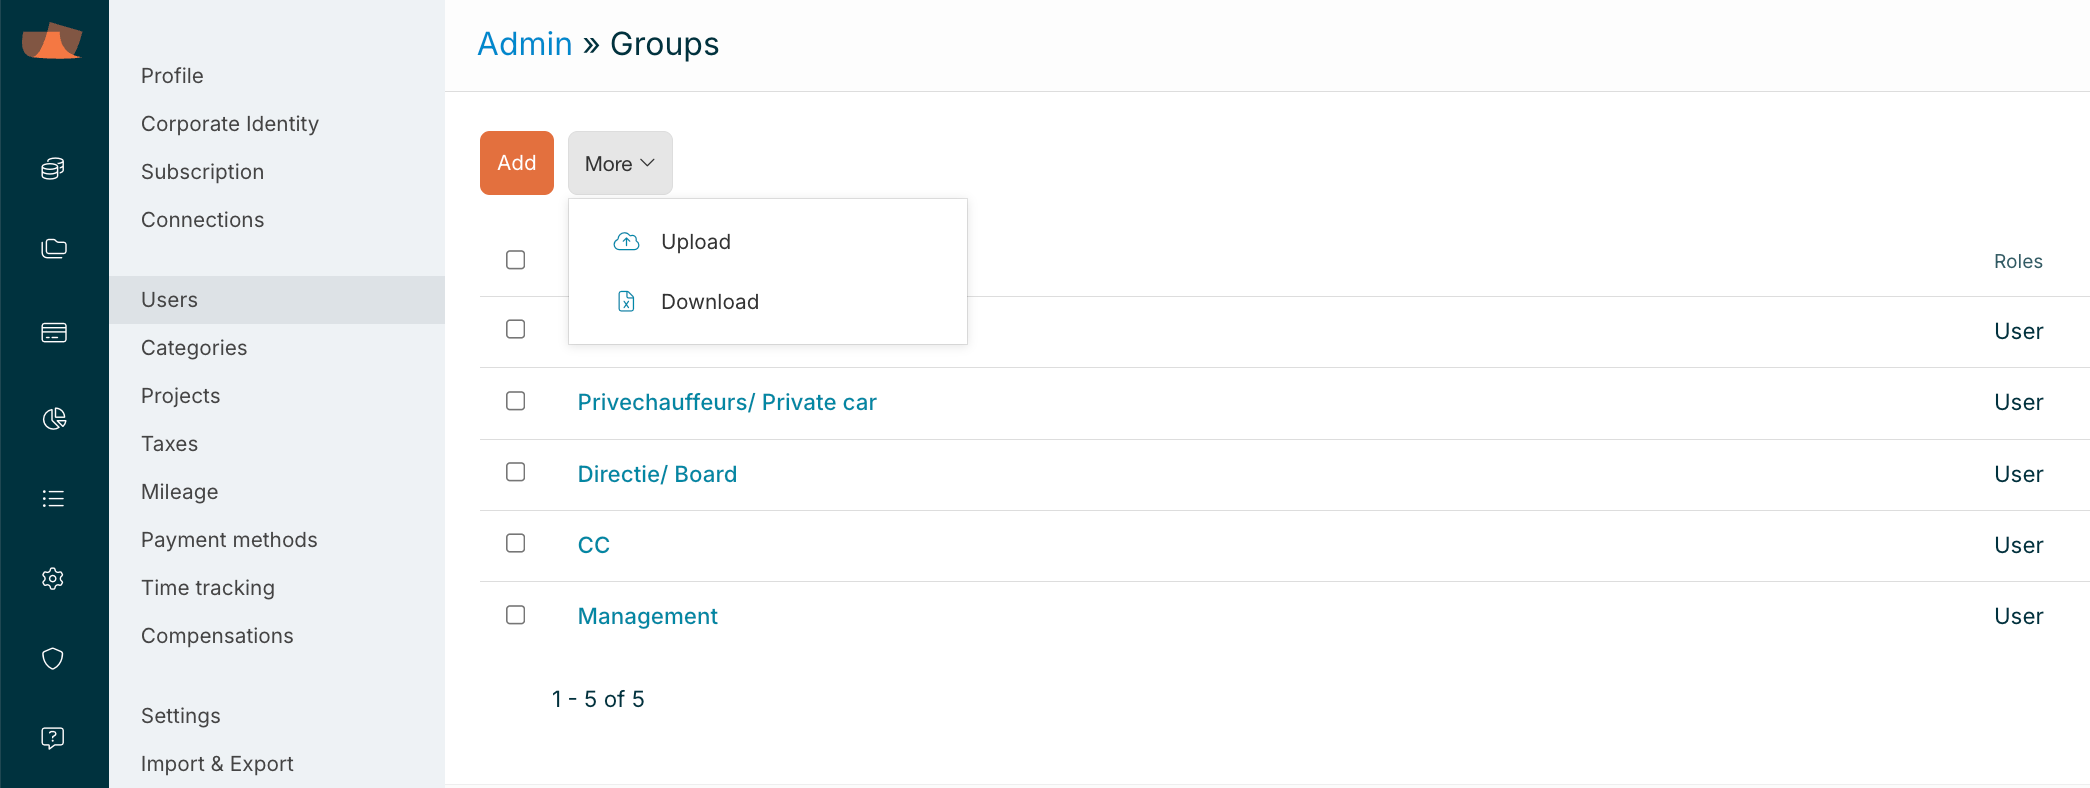
Editing or Creating Multiple Groups via Excel
To edit or add several groups at once, you can export the current list, make your changes, and upload the file again:
-
Download the group list from the Groups section.
-
Update the Excel file with your changes.
-
Upload the updated file.
⚠️ Important: Do not change, remove, add, or rename any columns in the file. The structure must remain exactly the same for the upload to work.
Assigning Roles to Groups
When you assign a group to a role (such as Manager or Accountant), all users in that group receive the corresponding rights. This is useful when multiple users should share the same permissions.
Adding Users to a Group
To manually assign a user to a group:
-
Go to Configuration → Users.
-
Select the user.
-
Click Permissions.
-
In the Groups field, select the correct group(s).
Users can be added to more than one group.
Assigning Groups via the User Upload
You can also assign users to groups using the Users Upload Excel file:
-
Go to Configuration → Users → More → Download
-
In the Groups column, list the relevant group names.
-
If a user belongs to multiple groups, separate the names with a semicolon (e.g. Finance;Germany).
⚠️ As with the group upload, do not alter the structure of the Excel file.
Using Groups for Categories and Cost Centers
Once you’ve created groups and assigned users, you can make categories or cost centers available only to specific groups.
There are two ways to do this:
-
Edit a category or cost center directly and select the groups you want to assign.
-
Use the Excel export/import method to update multiple items at once.
⚠️ Again, do not change the structure of the Excel file when using upload functionality.