
If your organization uses multiple layers of cost centers or works with project-based structures, you can configure sub-projects in Declaree. This lets you categorize expenses more granularly, based on a hierarchy of projects.
How Sub-Projects Work
Declaree allows you to add extra levels to the standard Projects field. Each new level is dependent on the selection made in the previous one. For example:
-
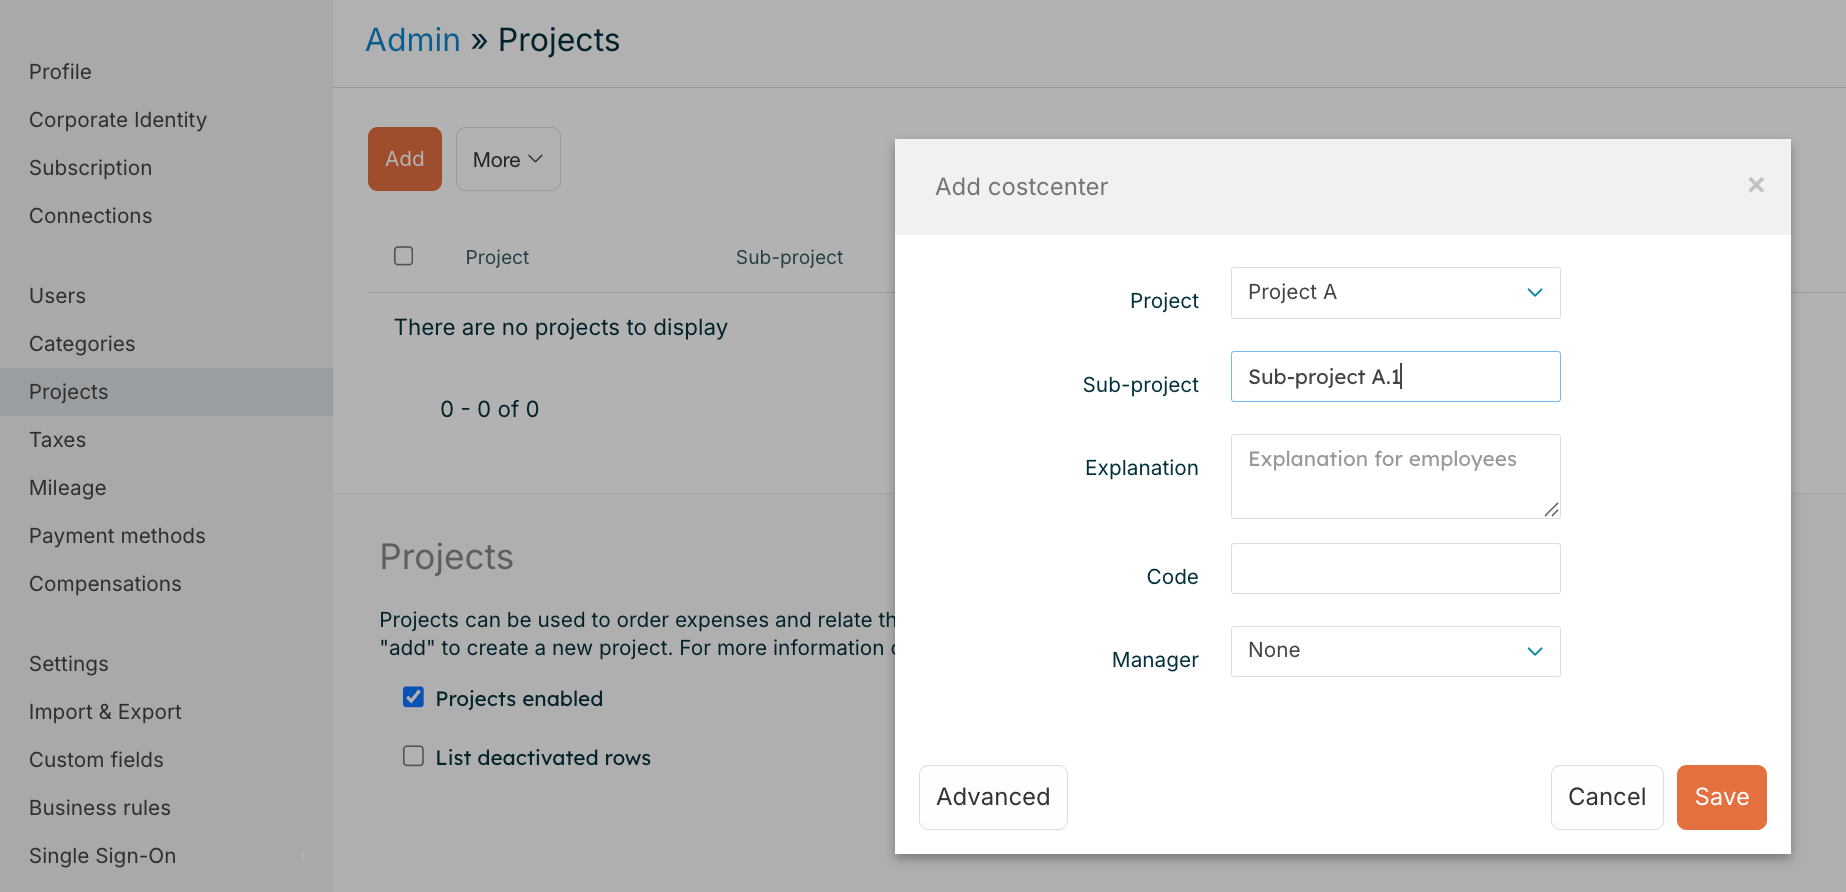
Level 1: Project A
-
Level 2: Sub-project A.1, A.2, A.3 (depending on Project A)
-
Level 3: Optional further breakdown (depending on Sub-project A.2, etc.)
Once configured, users will see an additional field appear only after selecting a value in the previous level. This keeps the interface clean while allowing deeper selection where needed.
How to Configure Sub-Projects
To set up additional project levels:
-
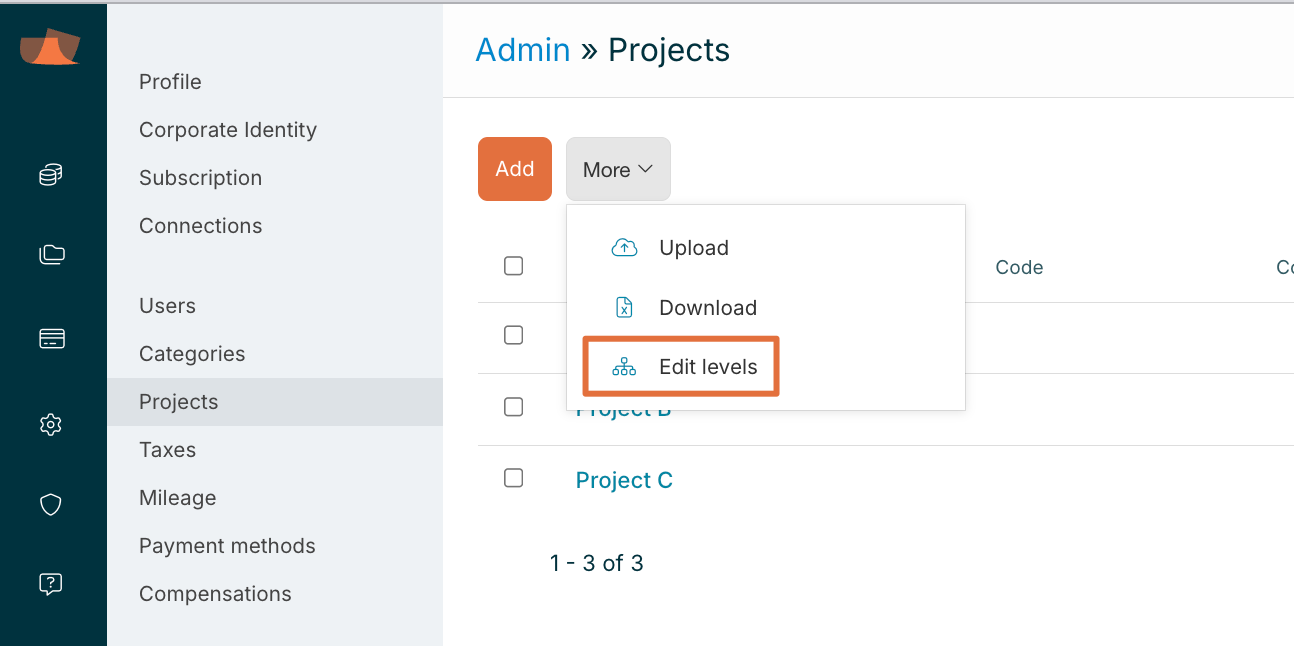
Go to Configuration → Projects.
-
Click More → Edit Levels.
-
Don’t see this option? Contact our support team to have it enabled.
-
-
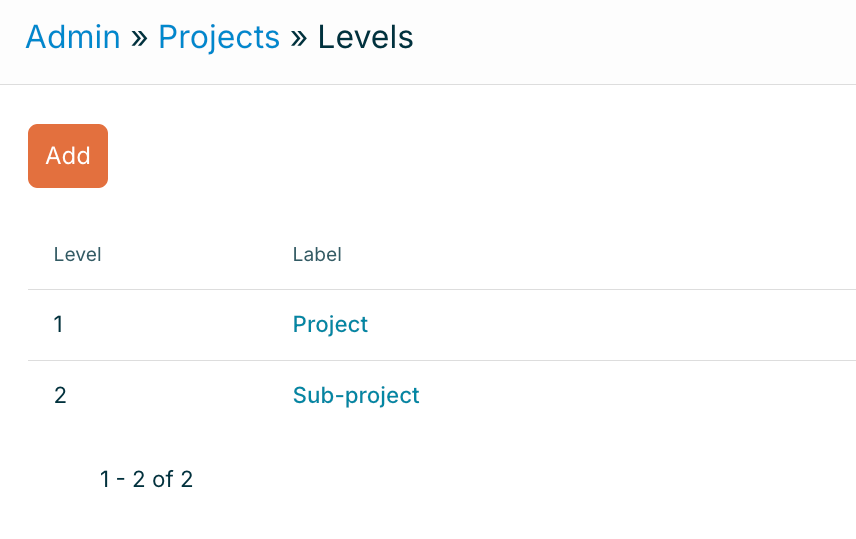
The existing cost centers or projects will appear under Level 1 by default. This is the main Project field users already see.
-
To add a new level:
-
Click on Add.
-
Enter a name (e.g. “Sub-project”, “Department”, or “Phase”).
-
Click on Save
-
-
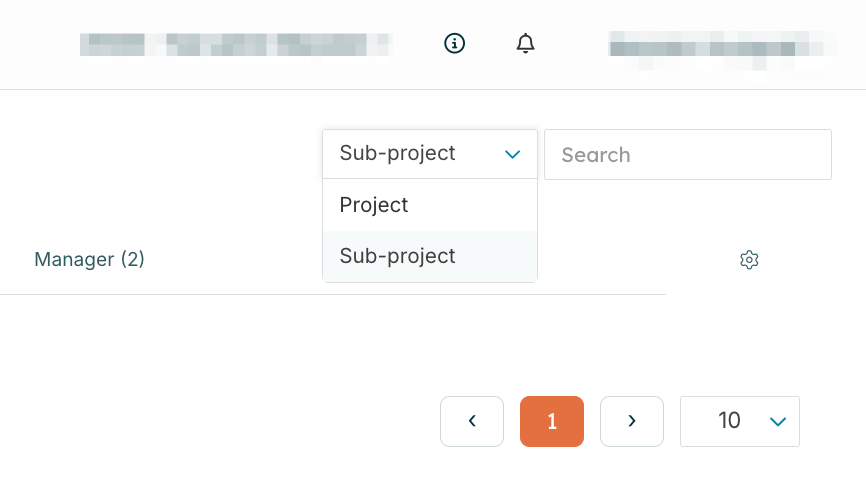
Return to the Projects page.
-
In the top-right corner, select the level you want to configure (e.g. Sub project).
-
Add new sub-projects for that level.
-
Make sure to link each sub-project to the correct parent project in Level 1.
-
-
(Optional) Repeat for additional levels if you need a third layer.
Adding Projects or Cost Centers in Bulk
To save time, you can add sub-levels in bulk using Excel.
-
Go to Configuration → Projects.
-
In the top-right corner, select the level you want to configure (e.g. Sub project).
-
Click More → Download to download the current structure.
-
Fill in the Excel file:
-
Column A: Code of the main project / cost center
-
Column B: Sub-Project name
-
Column C: Sub-project Code
-
-
Once your structure is ready, go back to More → Upload
-
Upload the file and confirm.
⚠️ Make sure sub-levels are always linked to a parent level to ensure proper dropdown filtering.
What It Looks Like for Users
Once set up:
-
Users select a Project (Level 1).
-
Based on their selection, a Sub-project field (Level 2) appears.
-
They can then choose the appropriate sub-category.
-
If a third level exists, another field will appear based on the sub-project selection.