Step 1: Setting up Declaree
1. Login to your Declaree account and go to Admin > Single Sign-on
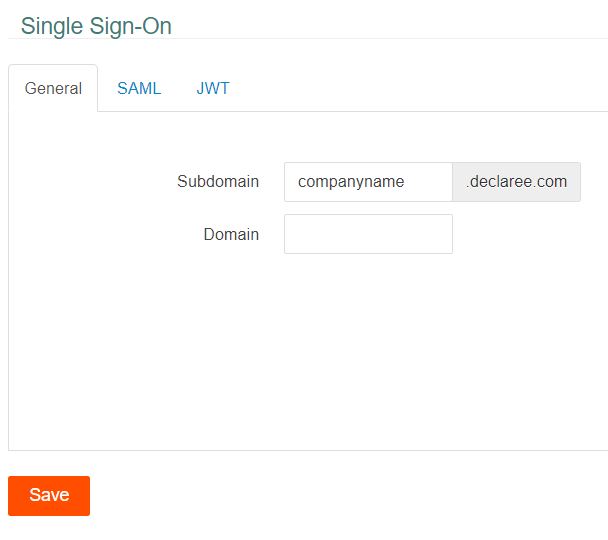
2. Enter a subdomain name, this is usually your company's name and click Save
3. Go to the SAML tab and enter the following URL at "Federation Metadata URL", making sure to replace "adfs.companyname.com" with your own ADFS domain. Then click the refresh Icon. The Issuer ID, SSO Login URL and Certificate will automatically fill with the needed information.
https://adfs.companyname.com/federationmetadata/2007-06/federationmetadata.xml
4. Activate SAML 2.0
5. Click Save.
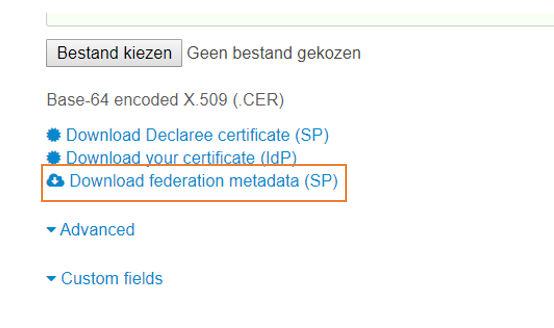
6. Download federation metadata (SP). You'll need this file in the next step.
Step 2: Adding a Relying Party Trust
1. Login to the ADFS Server
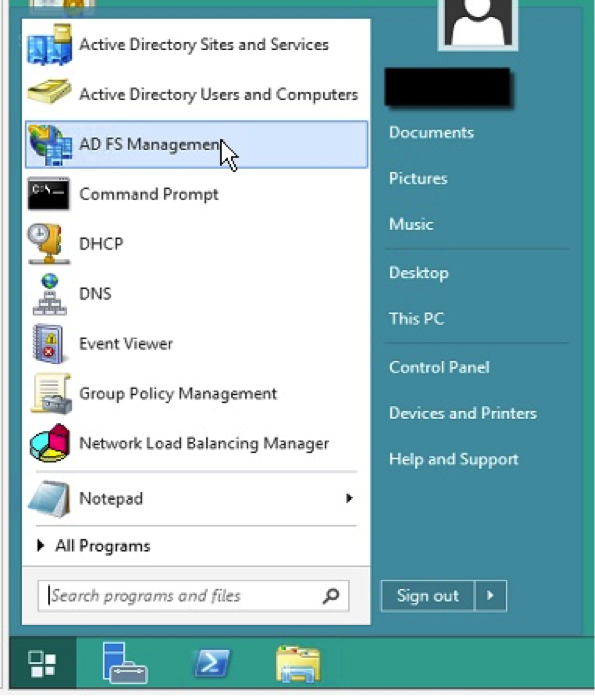
2. Launch the "AD FS Management" Console
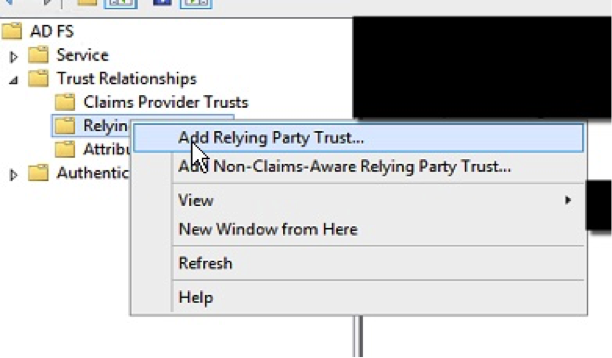
3. On the left hand tree view, select “Relying Party Trusts”

4. Right click and select “Add Relying Party Trust…”
5. Or, Select the Relying Party Trusts folder from AD FS Management, and add a new Add Relying Party Trust from the Actions sidebar on the right.
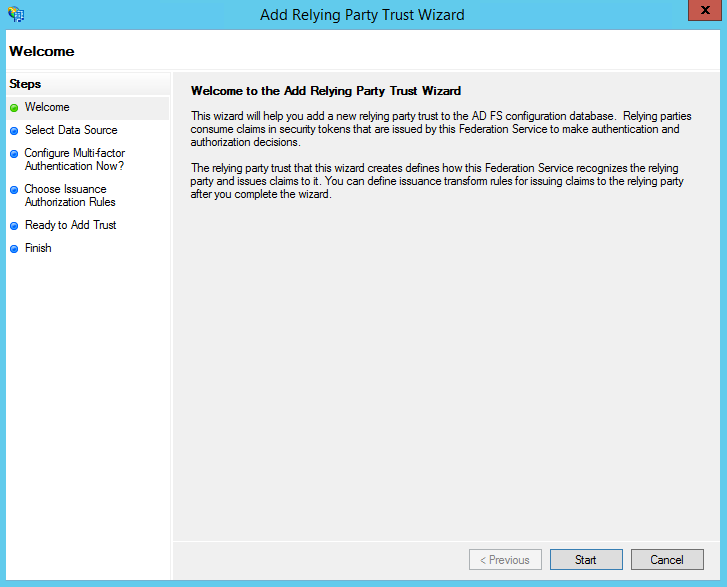
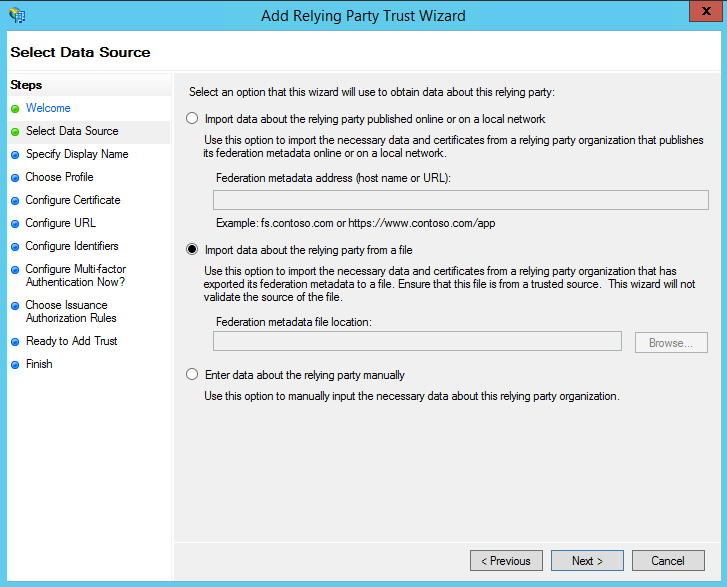
6. On the Select Data Source screen:
Import data about the relying party from a file.
Click “Browse” and select the Declaree Federation Metadata file you saved in step 1. ("Declaree-Metadata.xml")
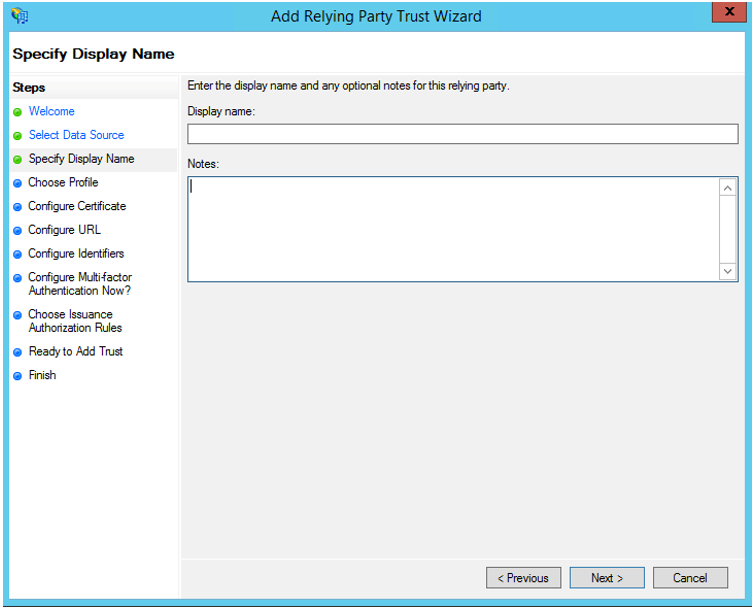
7. On the next screen, enter a Display name that you will recognize in the future.
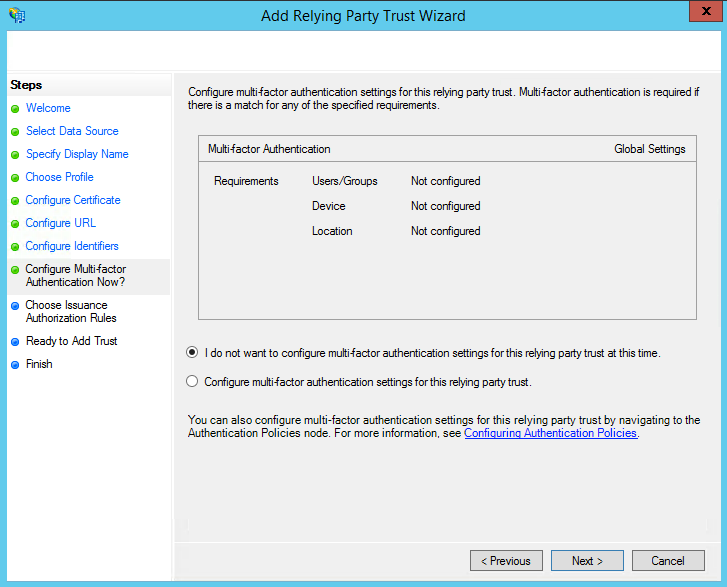
8. On the next screen, leave the defaults.
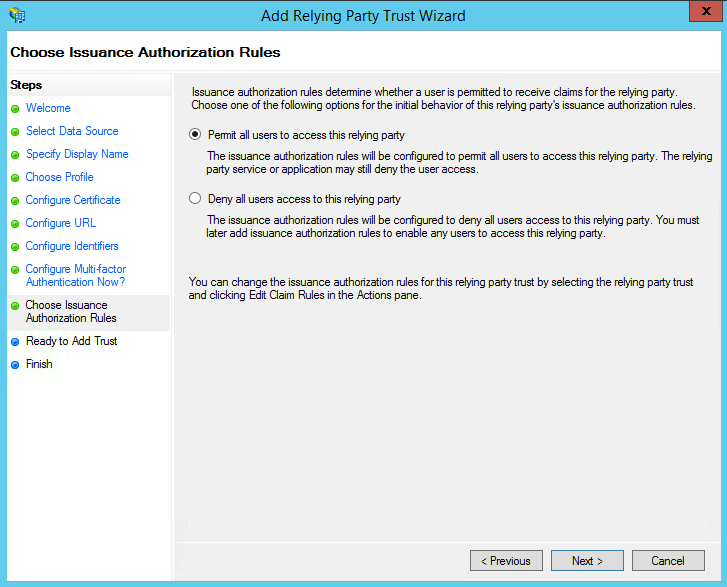
9. On the next screen, select: Permit all users to access this relying party.
10. On the next screens, the wizard will display an overview of your settings.
Click: Next
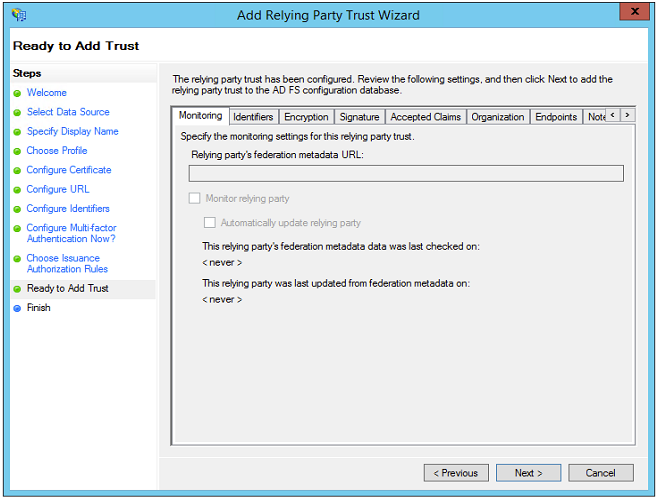
11. On the final screen use the Close button to exit and open the Claim Rules editor.

Step 3: Creating Claim Rules
If you didn't open the Claim Rules dialog from the previous steps, take these steps to edit the claim rules:
Login to the ADFS Server
Launch the "AD FS Management" Console
Open the folder AD FS > Trust Relationships > Relying Party Trusts
Select the Relying Party you have created for Declaree
Right-click on item and choose "Edit claim rules"
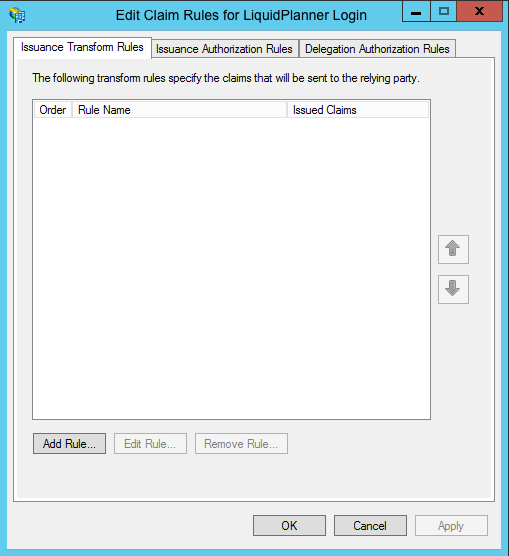
1. By default the Claim Rules editor opens once you created the trust.
To create a new rule, click on Add Rule.
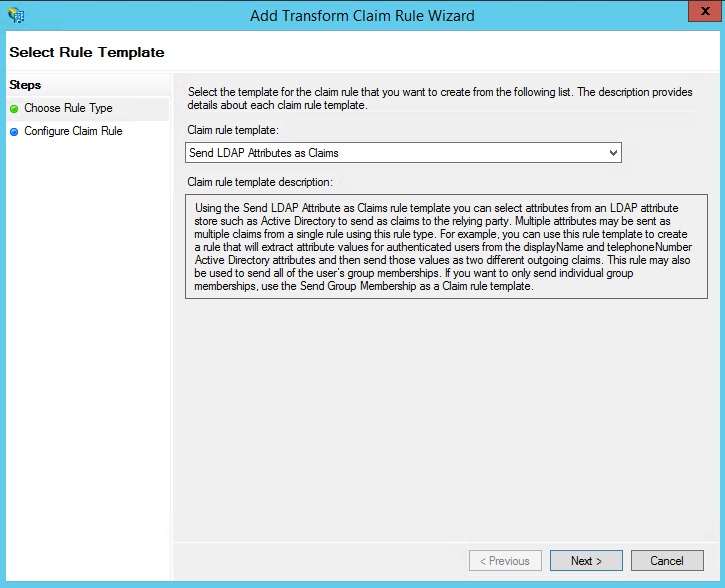
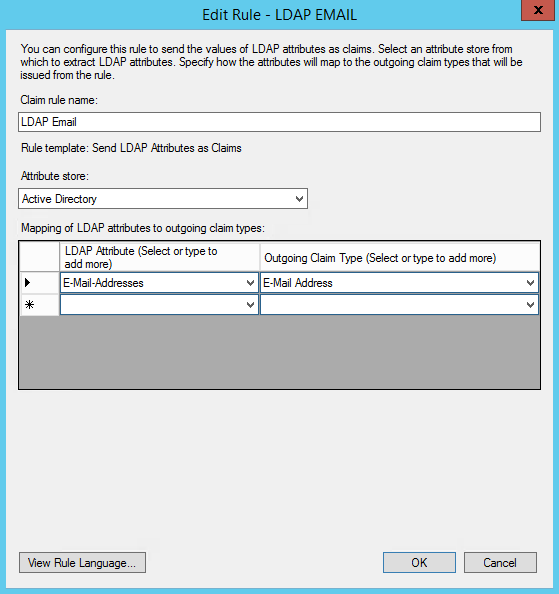
2. Select: Send LDAP Attributes as Claims rule.
3. On the next screen, do the following:
Enter a value at “Claim rule name” which you can remember
Attribute store = Active Directory
Add rules with the following mapping
i. E-Mail-Addresses <–> E-Mail Address
ii. Given-Name <-> Given Name
iii. Surname <-> Surname
iv. Token-Groups – Unqualified Names <-> Group (This mapping is optional in case you want to enter Groups in Declaree)
4. Click on Finish or OK to save the new rule.
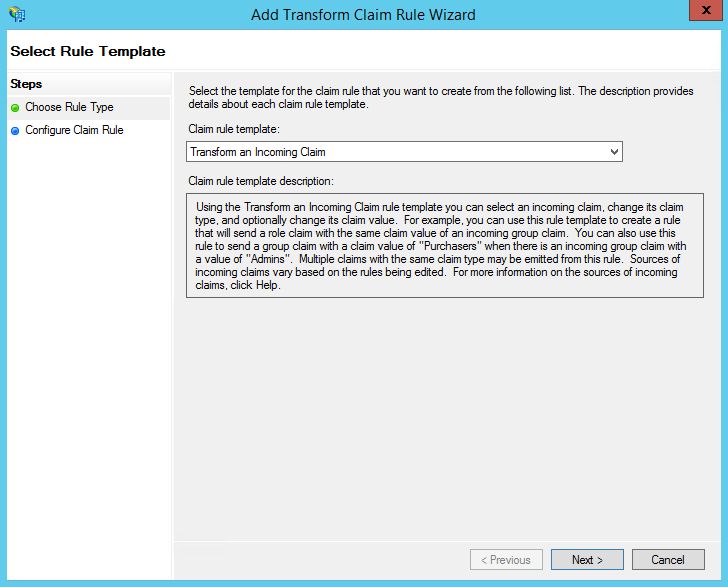
5. Create another new rule by clicking Add Rule. This time, select: Transform an Incoming Claim as the template.
6. On the next screen:
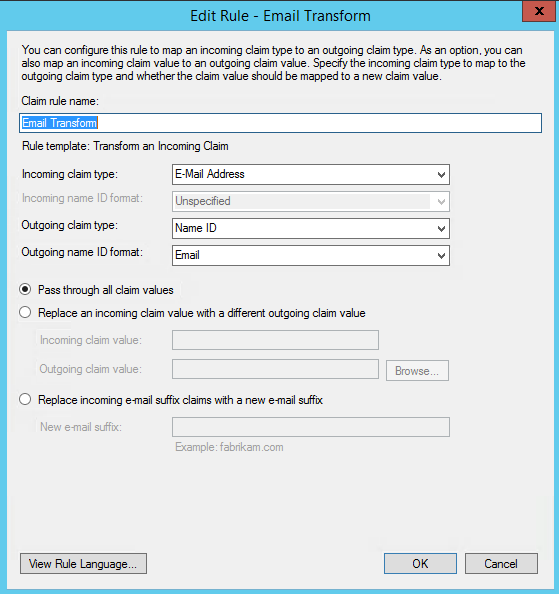
Enter a value in “Claim rule name” which you can remember
Select E-mail Address as the Incoming Claim Type.
For Outgoing Claim Type, select Name ID.
For Outgoing Name ID Format, select Email.
Leave the rule to the default of Pass through all claim values.
7. Finally, click OK to create the claim rule, and then OK again to finish creating rules.
Step 4: Test the connection
1. Go to companyname.declaree.com, making sure to replace "companyname" with your chosen subdomain name in step 1.
2. The browser will now redirect you to your company's login page.
3. Login to your user account. Make sure this account is active in Declaree.
4. You will be redirected to your expenses page in Declaree after successful login.
Possible issues
Useful information can be found in the “Event Viewer” of your ADFS server: a. Launch the "AD FS Management" Console
b. Choose “Tools” > “Event Viewer”
c. Open the menu “Application and Services Logs” > “ADFS” > “Admin”
500 Internal Server Error on /saml/sp/acs.A: IssuerID doesn't match:
The issuerID as sent in the SAML Response doesn't match the Issuer ID set in Declaree. Make sure http or https is set correctly and the names match. The value is case sensitive.
B: Unable to verify signature
Make sure the uploaded certificate is a signing certificate and that it didn't expire
